Looking for a studio flash? Discover the 10 things to consider when choosing a studio flash and find the perfect flash to transform your photographic projects!
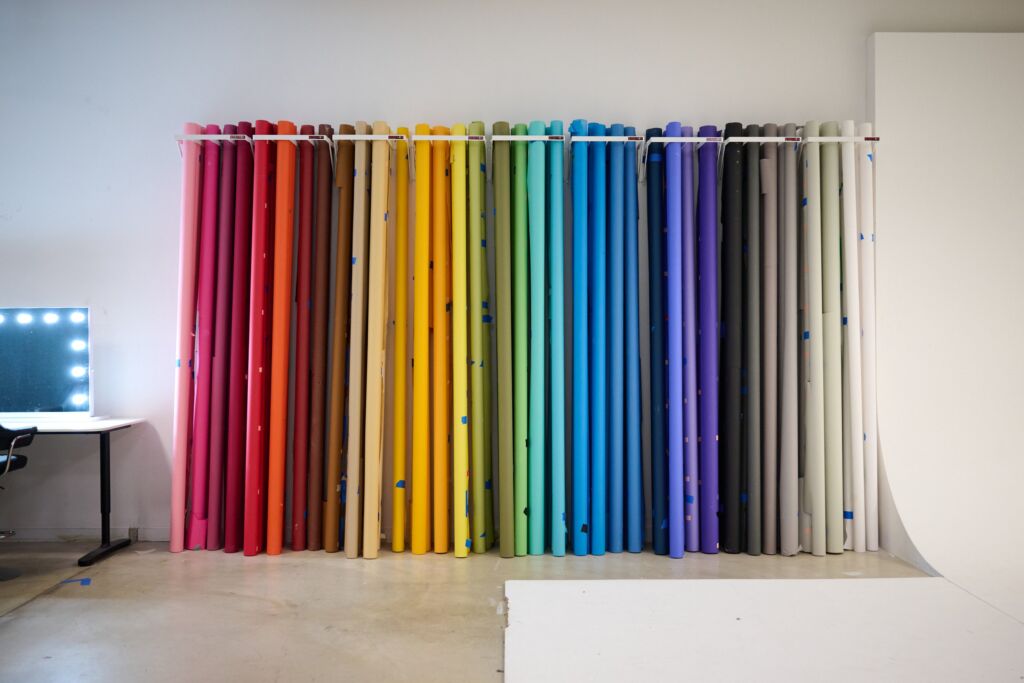
Paper backgrounds are an essential tool for studio photography. There is a wide range of brands available (Colorama, Manfrotto Papers, Savage, etc.), offering a large variety of colors to choose from.
Check out our article on the differences between studio background brands.
Known for their versatility, paper backgrounds provide a smooth, seamless surface that eliminates any texture or pattern that could distract from your subject.
Depending on their size, these backgrounds can last a long time, allowing you to use them for multiple photo shoots or productions. In this article, discover our tips for extending the use of your paper background rolls and maximizing their lifespan.
Table of contents
Discover all available paper backgrounds
-
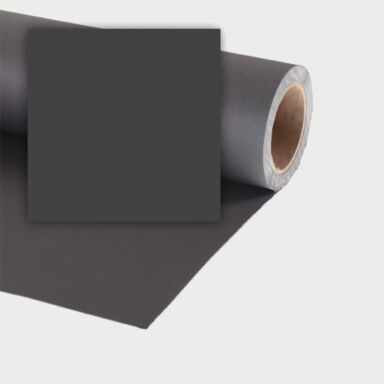 In stock99,99 €
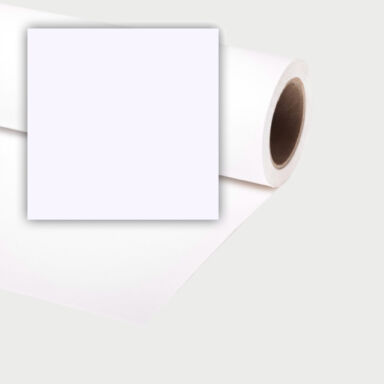 In stock99,99 €
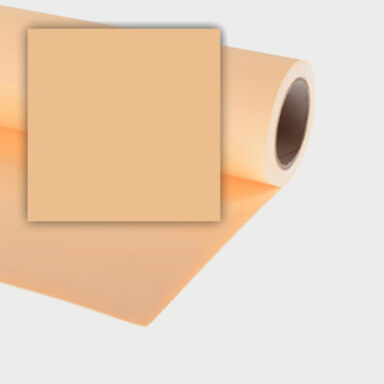 In stock99,99 €
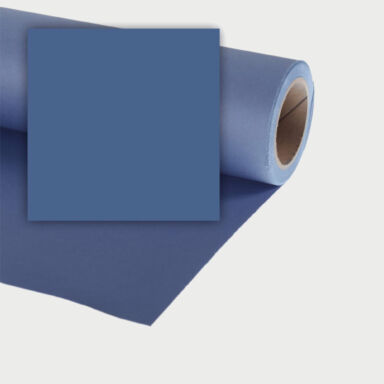 In stock99,99 €
Extend the life of your paper backgrounds
Learn how to handle and maintain your paper backgrounds optimally, to avoid tears and creases, and how to store them properly after use.
Whether you’re a professional or amateur photographer, these tips will help you preserve the integrity of your paper backgrounds while maximizing their use for your creative projects.
1. Place the paper background on a hard surface
When shooting in a studio or on-location, remember to place your background support on a hard surface, such as a laminate or concrete floor.
If you unroll your background paper on a “soft” surface, such as a carpeted floor, it’s likely to break and wrinkle more quickly as soon as a model stands on it during the shoot.
-
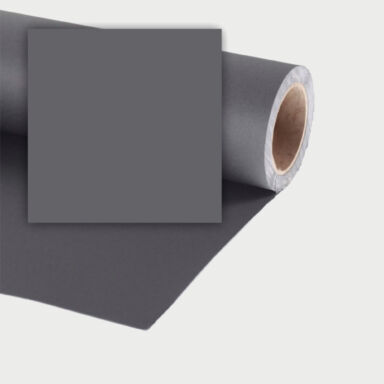
2. Use clamps to secure your paper background
To prevent your paper background from unrolling when you set it up, opt for a background system with b-reels, which are equipped with a brake to limit unrolling.
If you have a crossbar system, attach a special clamp for paper backgrounds to each corner of the roll. This will help keep the paper in place and avoid unwanted creases or wrinkles.
Discover all the backgrounds supports
-
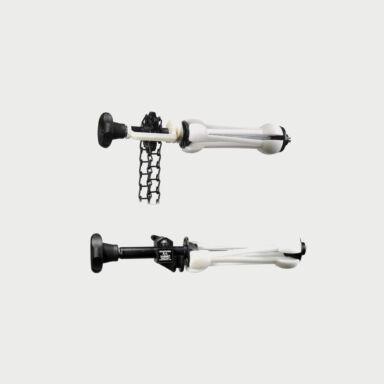 In stock146,00 €
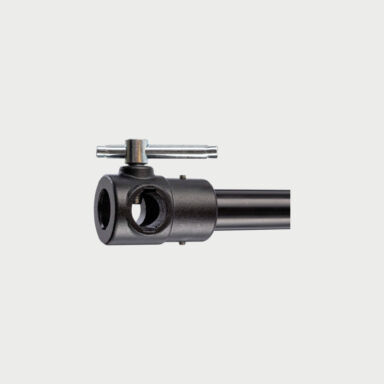 In stock96,00 €
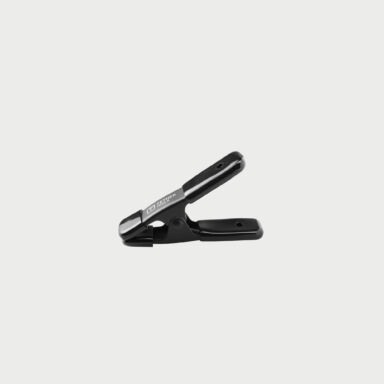
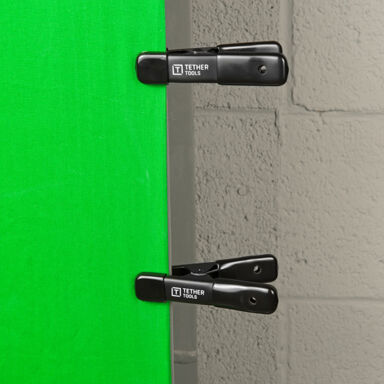 In stock6,64 €
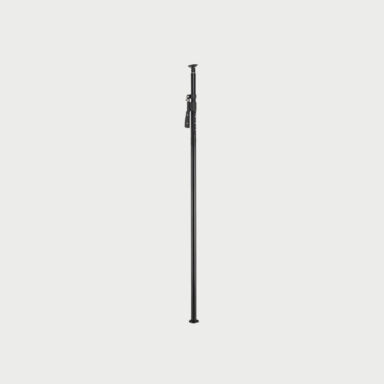 In stock196,00 €
3. Tape the paper background to the floor with adhesive tape
When you unroll your paper background, use adhesive tape to secure it to the floor. The tape is easy to remove and doesn’t leave any sticky residue, which is ideal when renting studios or other spaces for your photo shoot.
Simply apply a few strips of tape to the edges of the paper background to keep it securely in place and prevent it from moving during the shoot.
The tape can also be used when you’re finished with the background. Place a piece of tape on both ends and in the middle of the rolled paper background to keep it from unrolling, making it easier to store for your next photo session.
4. Don’t walk on the paper background with your shoes
Avoid walking on the paper background as much as possible, whether during setup or while shooting. Walking on the background with shoes can leave marks and stains on the paper.
To prevent this, use shoe covers or simply take off your shoes!
-
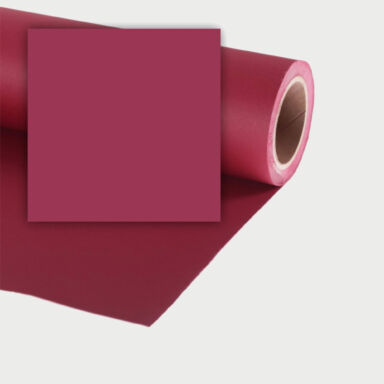 In stock99,99 €Add to cart
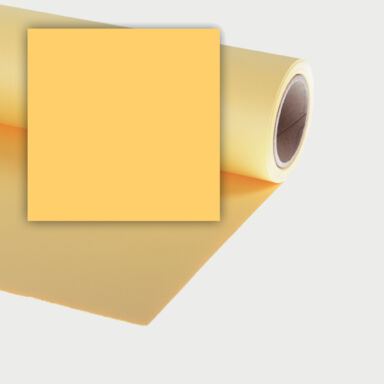
5. Use a good knife to cut the paper background
When you need to cut a piece of your paper background because it’s damaged, dirty, or wrinkled, avoid using scissors; instead, opt for a sharp knife or cutter.
This will allow you to make quicker and more precise straight cuts. Unroll the paper background, secure it to the floor with adhesive tape, and then cut the section of paper you wish to discard.
6. Store your paper background rolls carefully
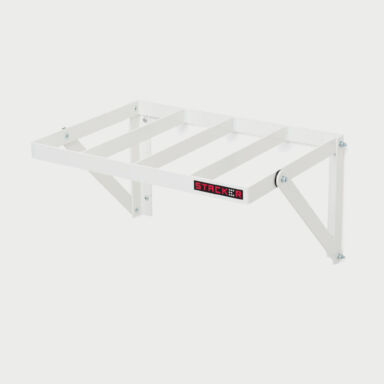
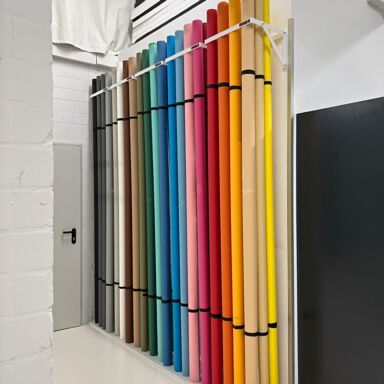
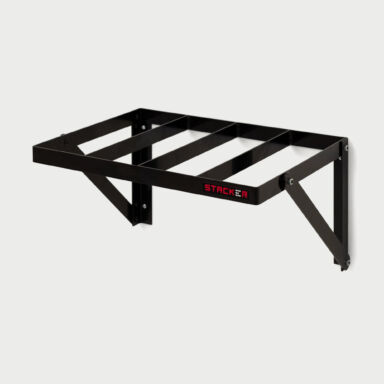
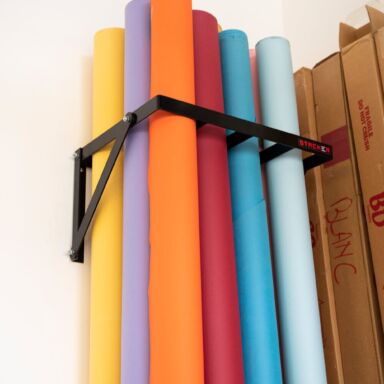
There are several specialized systems available for storing and organizing your paper background rolls.
For example, the brand Stacker offers storage racks for paper backgrounds that allow you to keep your rolls upright and easily organize all your backgrounds. These racks can hold up to 12 rolls, stored vertically as recommended by manufacturers, all in a compact space.
-
 In stock169,00 €Add to cart
More tips & reviews
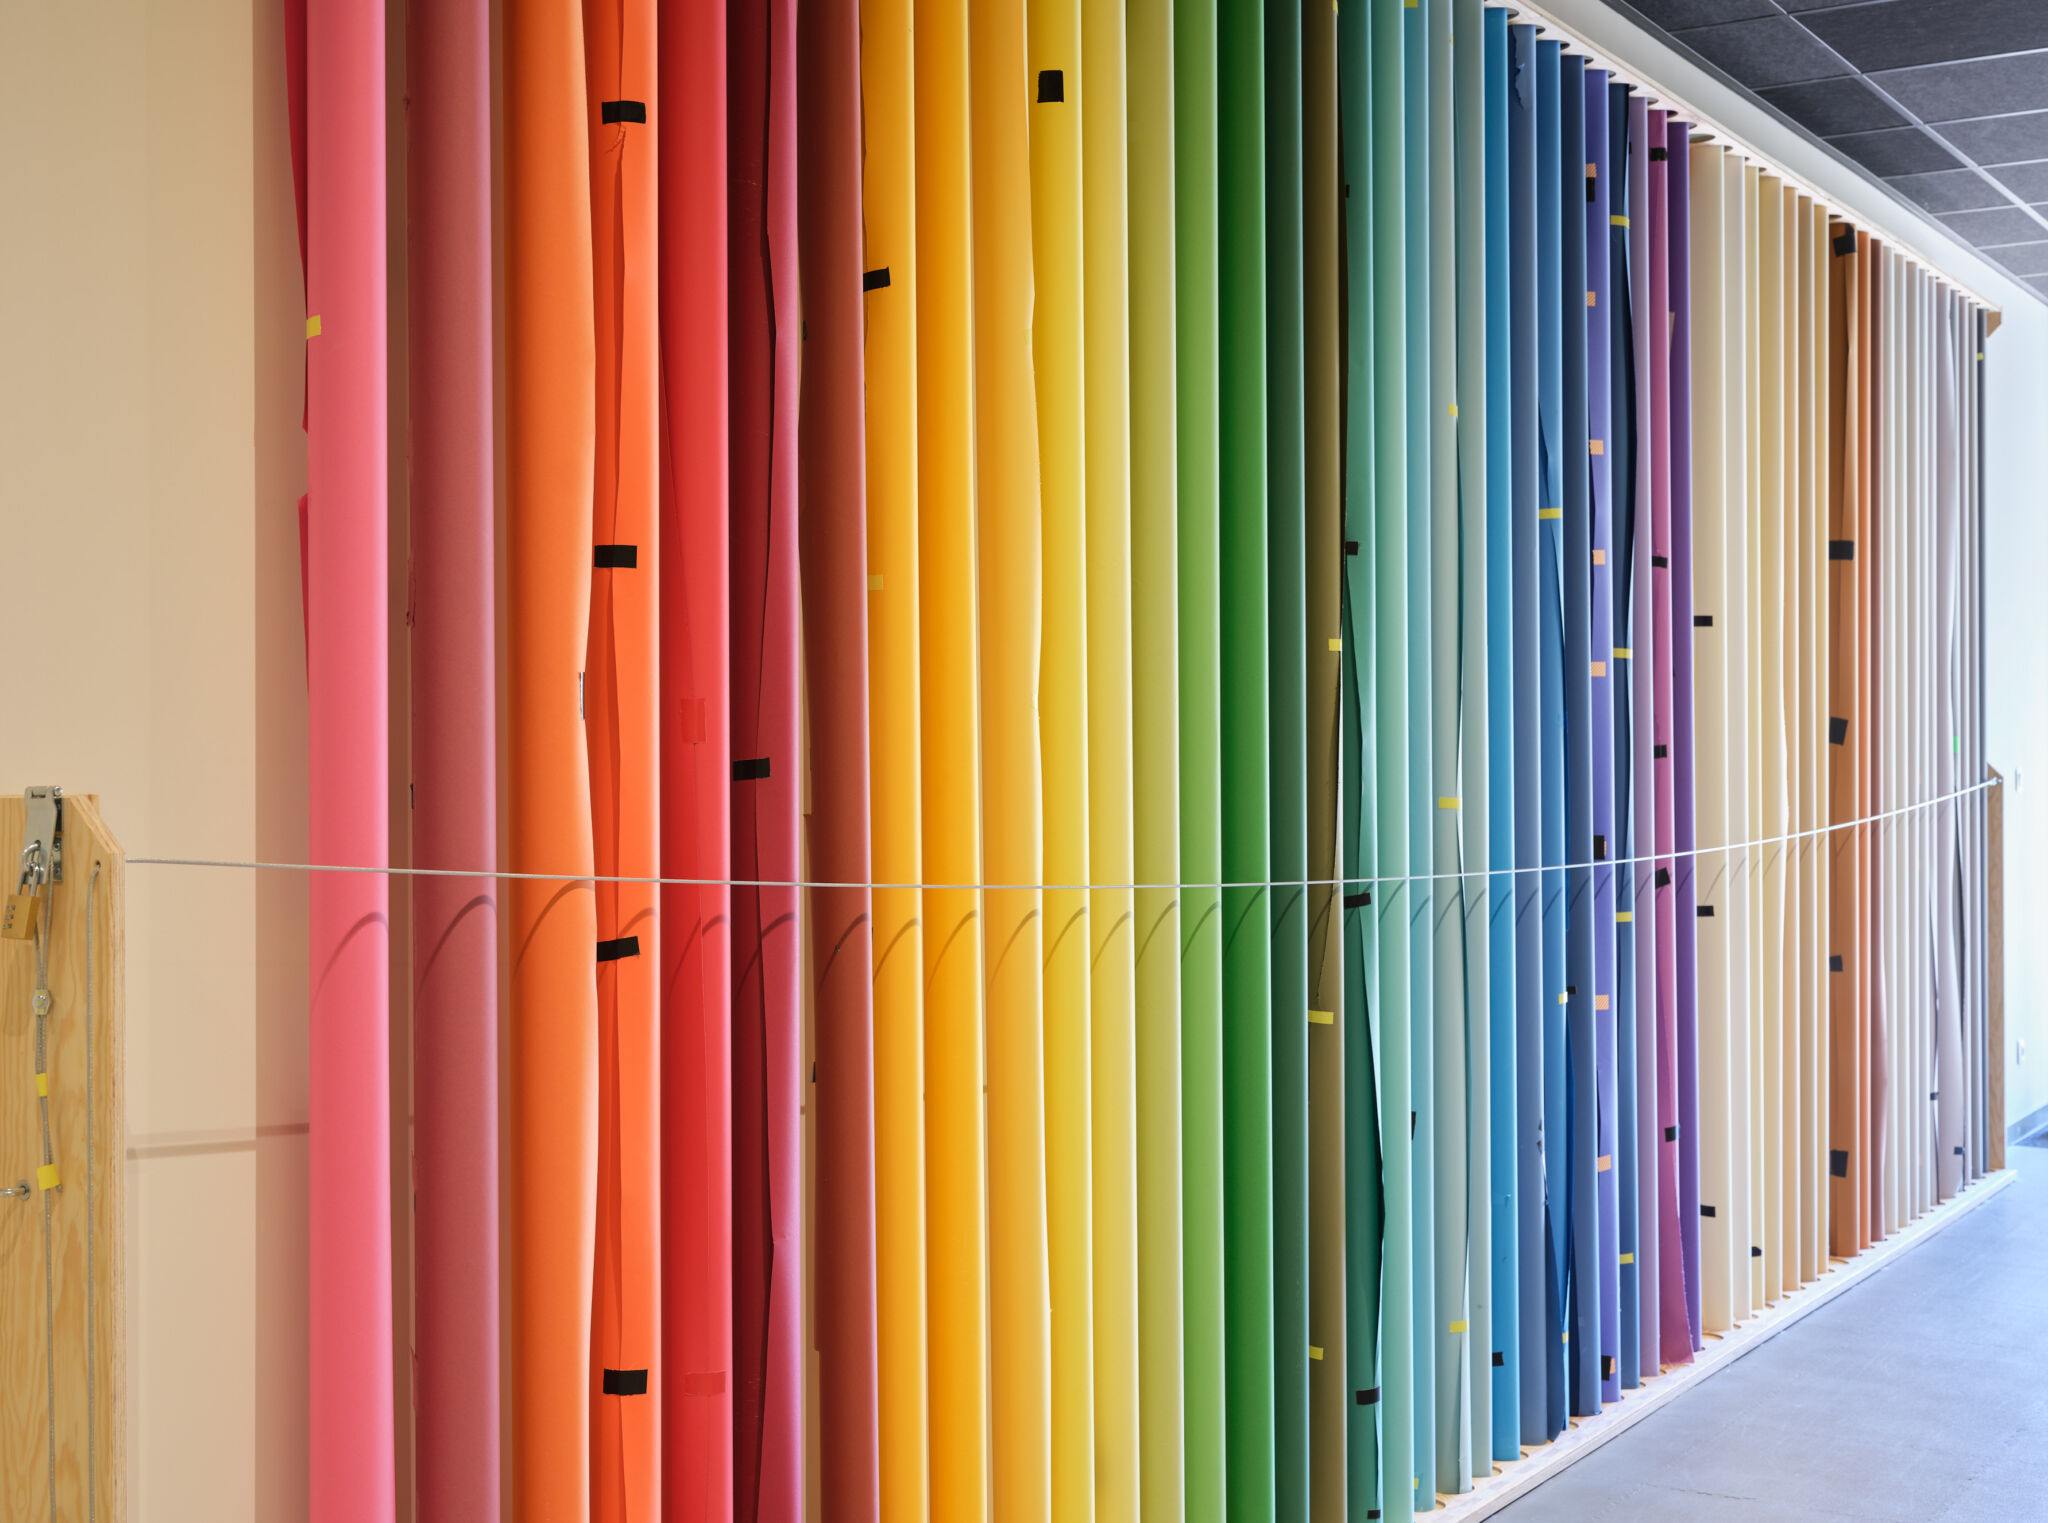
Paper backgrounds for studio shoots: Brands, colors, sizes and uses. How do I choose?
Discover this guide to choosing the right paper background for your studio shoot: brands, colors, sizes and uses. How to choose? Explore with us the different paper background roll options available.
Published on 23.10.24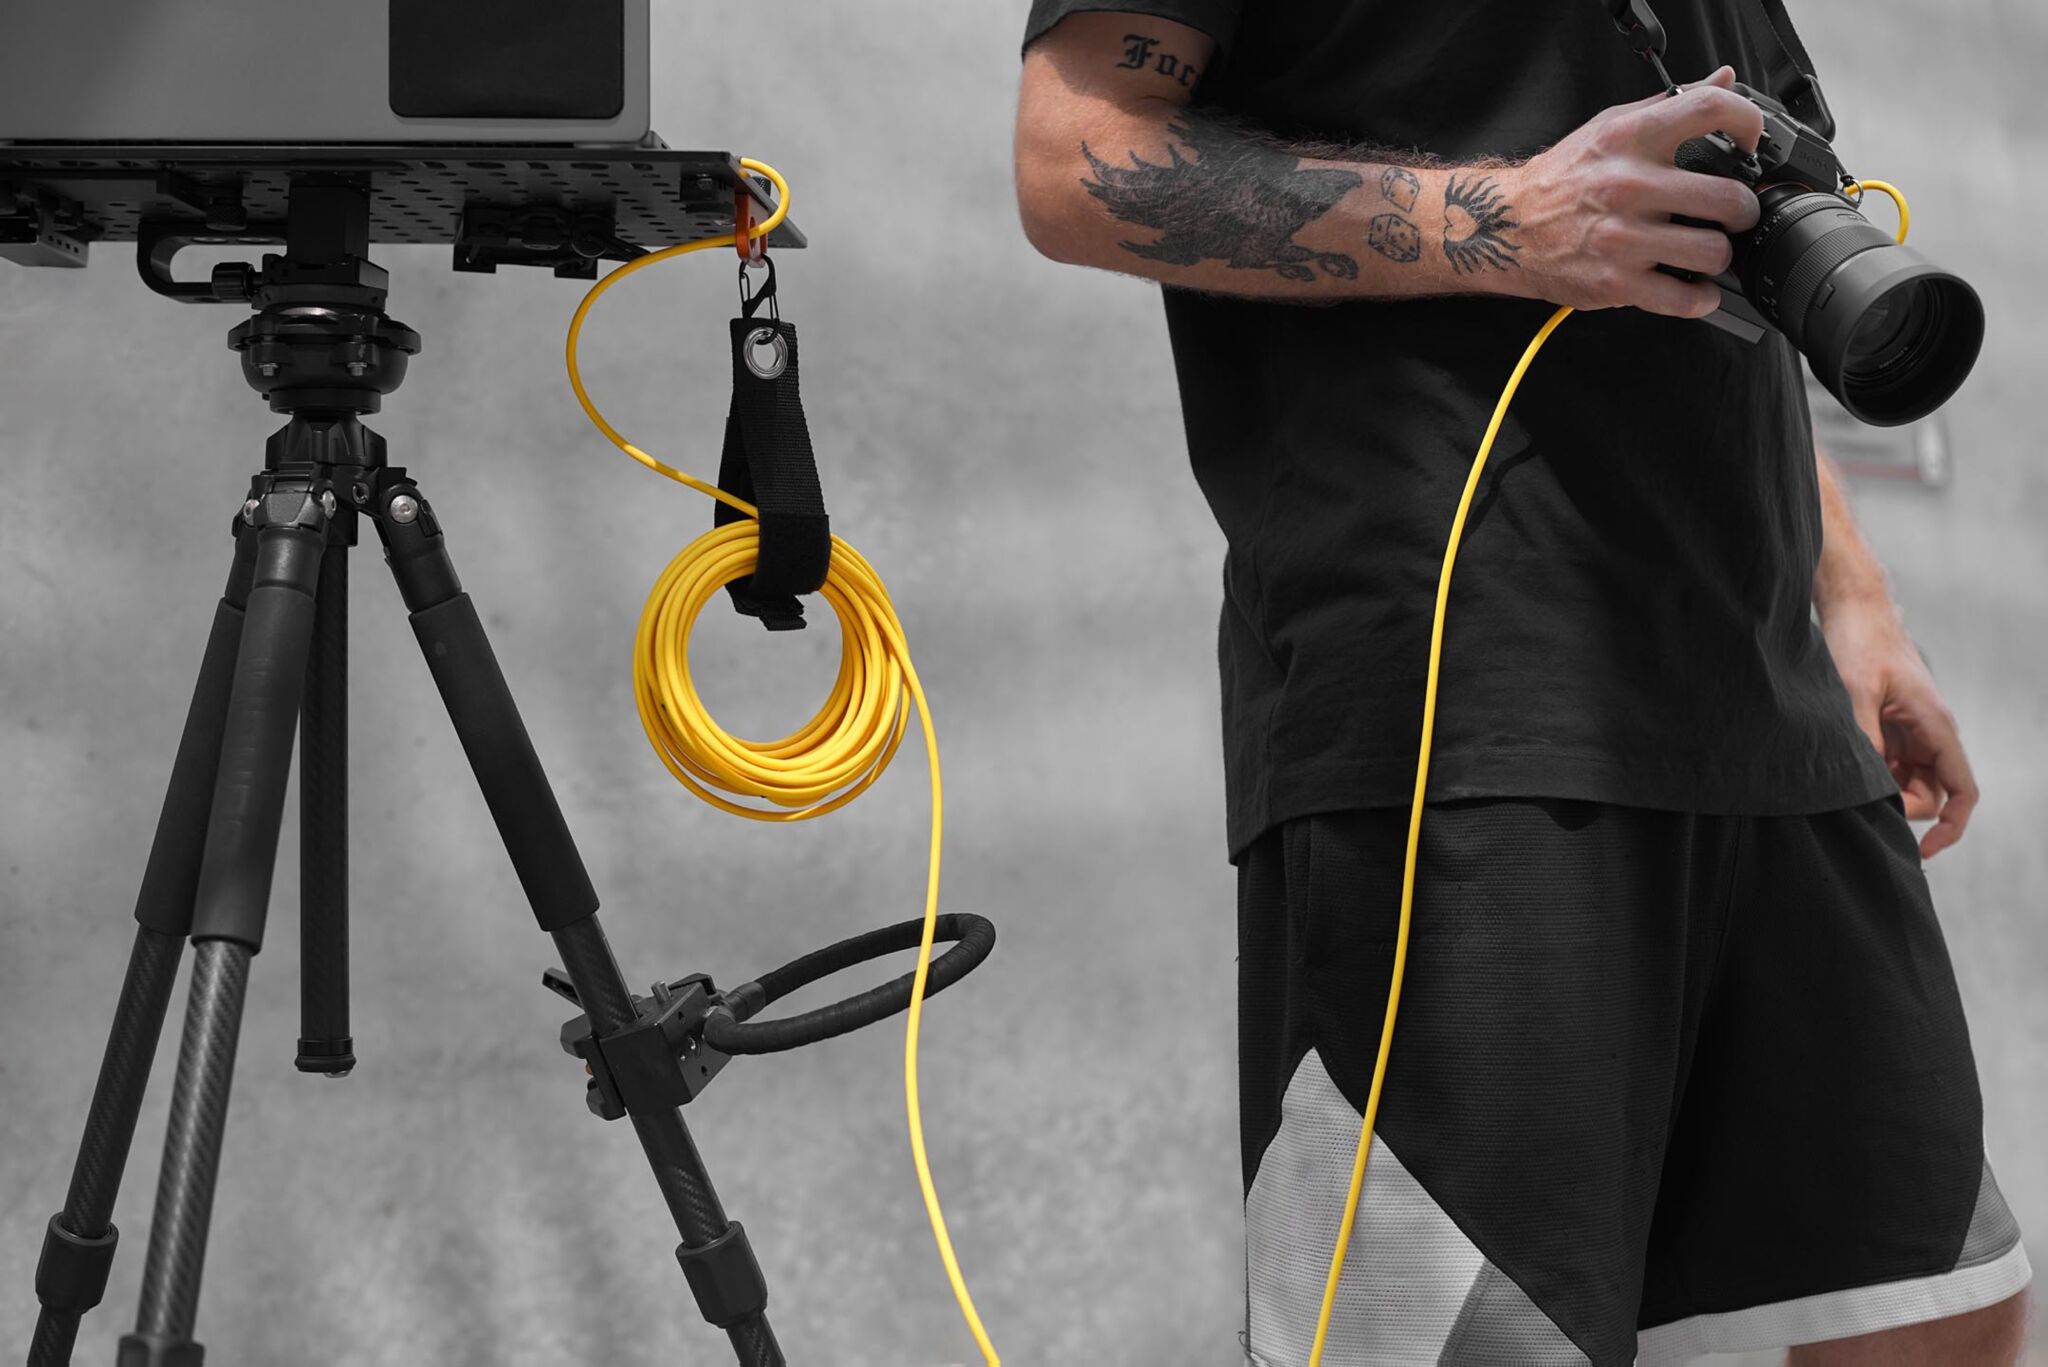
Comparison of all Cobra Tether cables and their technical features: Which one should you choose?
Select the Cobra Tether cable that meets your needs with this comprehensive guide to all tether cables and their specifications. We will cover the key features of each cable, including transfer speed, charging capability, connectors, and whether or not they support video transfer. Additionally, we’ll provide use cases to help you choose the best cable for your requirements.
Published on 10.10.24
Subscribe to our newsletter and get a discountSign up now- Keep in touch on instagram
- Keep in touch on instagram
- Keep in touch on instagram
- Keep in touch on instagram
- Keep in touch on instagram
- Keep in touch on instagram
- Keep in touch on instagram
- Keep in touch on instagram
- Keep in touch on instagram
- Keep in touch on instagram
50.8 Shop • All rights reserved, 2025 • Made with 🍟 in BelgiumTerms & Privacy Policy Cookie preferences
Subscribe and get a discount*
Benefit from exclusive offers, inspiring stories and a welcome voucher when you subscribe.
By registering, you agree to receive electronic communications from 50.8 and our Terms & Privacy Policy. *Offer is valid for minimum order of 150€
-


 Photo
Photo  Lighting
  Tripods & Grip
  Digital
  Bags & Cases
  Printing
  Continous lights
  Transmitters
  Accessories & Parts
  Accessories tripods & grips
  Cables & Tether
  Hub & Adaptaters
  Portable power stations
  Sling bags
  Rolling bags
  Hard cases
  Organizers & Pouches