


 Photo
Photo 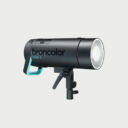 Lighting
 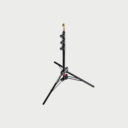 Tripods & Grip
  Digital
  Bags & Cases
  Printing
 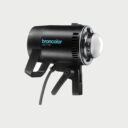 Continous lights
  Transmitters
  Accessories & Parts
  Accessories tripods & grips
  Cables & Tether
  Hub & Adaptaters
  Portable power stations
  Sling bags
  Rolling bags
  Hard cases
  Organizers & Pouches
Hasselblad has announced a new lens in its “P” series, the XCD 3,4/75P. This lightweight portrait lens boasts advanced optical design, a linear focusing module, and a compact central shutter. Discover the features of Hasselblad’s latest lens in this article.
Are you a museum, institution or artist who needs to photograph your artworks to produce prints, present your works in competitions or exhibitions, or use them on social networks and in your online store?
Discover some tips to help you photograph your paintings, pictures and other works of art.
For museums and artists, art photography can be a challenge, but with the right technique and, above all, the right equipment, it’s possible to achieve high-quality images that faithfully reproduce the artworks.
However, with the right technique and, above all, the right equipment, it’s possible to obtain high-quality images that faithfully reproduce the works. Discover our top tips for choosing the right photo equipment and techniques for photographing artworks and paintings.
Need more details or advice for a specific project? Don’t hesitate to contact us directly!
Table of contents

1. Hang the painting to be photographed on the wall
It’s common to see artists photographing their work by leaning it against a wall and shooting it from a slightly plunging angle.
This should be avoided; instead, choose a neutral-colored wall (white, black or gray) and hang your work at a height such that its center is aligned with the lens of your camera.
Another option is to mount the work on an easel, offering optimum stability and alignment for the shot.
2. Use a tripod to stabilize your camera
It seems obvious, but to take sharp, properly cropped images of artworks, you need a good tripod for your camera.
Photo tripods eliminate the risk of camera shake and help you position your camera at the right angle. They allow you to take long exposures without movement. A long exposure is ideal for photographing an object, as it produces images with fine detail.
Cambo tripods are also available for larger-scale fine art photography.
A ballhead is also indispensable for easily orienting your camera in the right position. We also recommend a tripod head fitted with a spirit level, to ensure that the camera is perfectly horizontal.
When positioning the camera, be sure to center it facing the artwork, so that it is perfectly oriented forwards. If the camera is placed too far to one side or at an angle, the image could be distorted, with lines bending or converging. By keeping your camera facing the painting, you’ll get a faithful, undistorted picture.

3. Set-up configuration and installation
The ideal set-up for photographing your works of art is as follows: use two identical light sources, positioned at a 45-degree angle, facing each other, on either side of the painting. This will ensure even illumination of the work, without creating shadows, and an even distribution of light across the entire surface.
When photographing works of art, it’s best to use two flash units of 500 Ws or more, such as those from Profoto or Broncolor, accompanied by two 50×130 cm softboxes (the size of the softboxes may vary according to the brand of lighting equipment or the size of the work to be photographed).
We recommend avoiding the use of continuous light for art photography, as it can generate excessive heat (like halogens) or fail to reproduce colors faithfully (like LEDs).
4. Choosing a studio flash
When photographing artworks and paintings, the ideal solution is to use a studio flash, such as Profoto’s B10X Plus.
The flash provides abundant light and natural color reproduction. When choosing a flash, you can freely select an aperture or ISO number on the camera that will give optimum results.
No matter how powerful you set your studio flashes, color temperature and exposure will remain constant, even during extended shooting sessions. You can also easily reproduce the same lighting every time.
-

 2.395,00 €
 2.195,00 €
 495,00 €
5. Camera settings
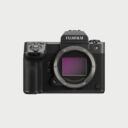
To take pictures of your paintings, we advise you to use a camera that allows you to control all the settings.
Set it to manual mode for total control over shutter speed, aperture, white balance (approx. 5500 kelvin) and ISO sensitivity (ideally ISO-100, depending on your camera’s optimized settings).
Choose an aperture suited to your subject. If you’re shooting a small painting or object close-up, opt for a small aperture (a large f/ number).
To ensure sharpness at the edges of the image, select an aperture at least two f-stops closer than the maximum aperture of your lens. For example, if the maximum aperture is f/2.8, choose f/5.6 or f/8.
Avoid using the smallest aperture, such as f/22, as the lens generally performs less well at this value. As a general rule, f/8 or f/11 are good starting points. For the sharpest lines possible, choose a lens with a focal length between 85 and 135 mm. This may vary according to the lens, but opt for a lens that offers the best optical performance.
-
 1.099,00 €
 1.299,00 €
 3.249,99 €

6. Processing and editing the shot
If possible, adjust light and contrast using photo editing software such as Photoshop or Lightroom. This will enable you to capture the colors and details of the painting to best effect.
Also make sure you work with a quality monitor, specially designed for image editing, and calibrate it regularly.
-

 1.609,30 €

How to photograph your works of art, paintings and pictures?
To sum up, it’s essential to use the right equipment and techniques to photograph works of art and paintings in the best possible way.
Use a tripod, studio flashes, and select the appropriate camera settings to capture the artwork in the best conditions. Maintain a 45-degree angle between camera and subject.
Create uniform lighting on the work by directing two light sources towards each other. Use a short telephoto lens and reliable color references to facilitate calibration.
More tips & reviews

L1600D Mono-LED: Profoto’s first cinema light
Profoto enters the video market with its very first cinema light, the L1600D Mono-LED. Discover the main features of this new L1600D cinema lamp in this article.

How to create shadows in photography using Shadow Boards?
Discover how to easily create shadows in your photographs with the V-Flat Shadow Boards. Whether you’re an experienced photographer or just starting out, mastering the use of shadow boards will elevate your product and food photos by adding depth, texture, and drama.
- Keep in touch on instagram
- Keep in touch on instagram
- Keep in touch on instagram
- Keep in touch on instagram
- Keep in touch on instagram
50.8 Shop • All rights reserved, 2025 • Made with 🍟 in BelgiumTerms & Privacy Policy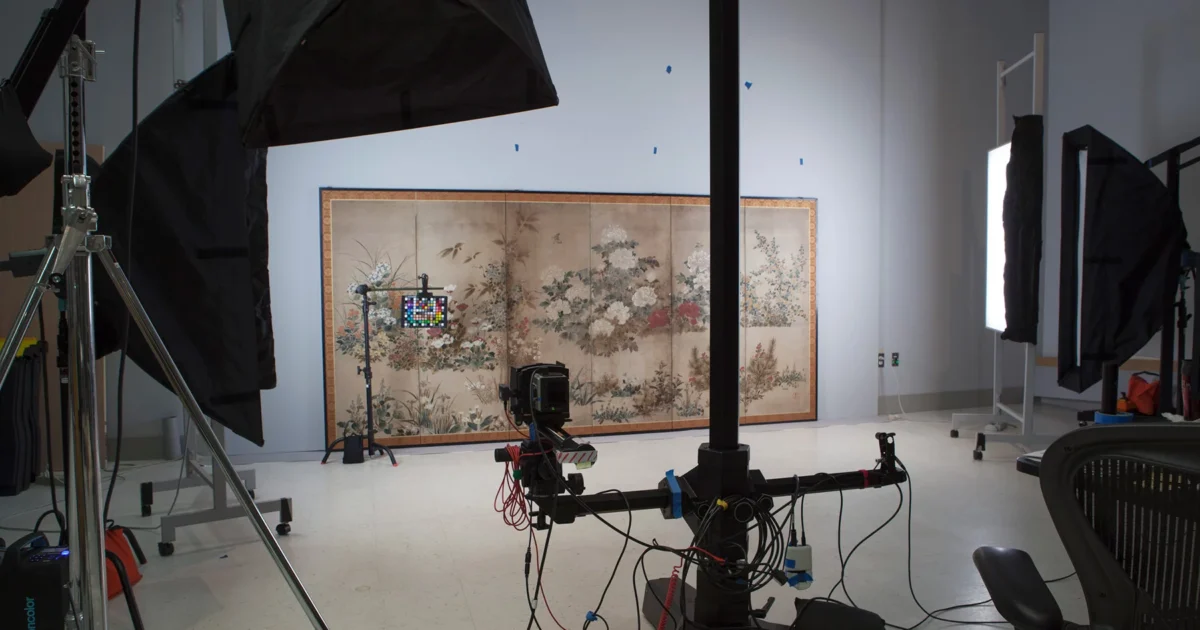
Benefit from exclusive offers, inspiring stories and a welcome voucher when you subscribe.
By registering, you agree to receive electronic communications from 50.8 and our Terms & Privacy Policy. *Offer is valid for minimum order of 150€